Friday, May 10, 2019

Pedal to the Metal

I finally did it!  I found a White rotary treadle sewing machine at a good price and in good shape.

It all started two years ago when I started looking for a treadle machine.  They were either junk, too expensive, not a White, or too far away.  I know I was being picky.

I became lucky when I saw one for sale on Facebook and only 35 miles away.  It cost $100, but I think it was well worth it.  The man selling it bought it from a storage auction where he bought the contents sight unseen.

Precious cargo
Jet Age needles

Lots of treasures in drawers.
This treadle was made in 1906.  It is in good shape for being 113 years young.
Decals in good shape

Cabinet is in good shape
Lovely iron work

I did many test sews by stitching straight lines.   Then I practiced turning corners.  It takes a little practice to get coordinated with pedaling, making sure the wheel is going the correct direction, and feeding the fabric.

My first project was a short sleeve shirt made with Simplicity 8427.  This is my "goto" shirt pattern in size 38.


It turned out not too bad.  I cheated a little by serging the seams.

I like treading, and with Pacific Gas and Electric threatening to turn off the power for fire safety this Summer, my treadle will come in handy for sewing with no power.

Thanks for stopping.

Friday, April 12, 2019

Wool Toggle Coat

I must be crazy.  I have many coats, but I decided it was time for another when I saw McCall 's 5649.  It is a unisex toggle coat from 1991, but looks like something I can sew and wear.  It comes in two lengths, I am sewing the shorter one.


I had some black wool in my stash I was going to use.  I also had some tan material perfect for the lining.  Then I looked at wool on different web pages, just to look.  I ended up buying some brown wool from fashion fabrics club.com.  This will go better with the lining.  I also bought some plaid shirting for other projects.  I purchased the toggles on Amazon.

I made a muslin for this to be safe.


This thing was huge, even though it is a medium.  The shoulder seams were two inches below my shoulder.

I started adjusting it.  I took one inch off each side seam.  I took the front yoke  pieces in one inch, and two inches off the rear yoke. This a total of four inches off.

I made another muslin.  It looked a lot better.


I then added two inches to the sleeve length before starting the real coat.

I used my Necchi SuperNova Ultra to sew it.

I followed the directions until the hand sewing of the lining to the coat.  I sewed it with my machine.

Here are pictures without the hood.


 The hood is removable.  It attaches with three buttons.


Besides the sizing issue, I like this pattern and instructions.

Thanks for stopping.

Tuesday, February 19, 2019

Camping Flannel

I bought this cute flannel with camping icons on it from Joanns.  I decided to use my go-to pattern, Simplicity 8427.  I also decided to dig into my sewing machine stash and use my Bel-Air Bantam to sew this shirt.  The Bel-Air Bantam is a Singer 99 clone( 3/4 size machine), but made of aluminum so it is only 12 pounds.

Camping flannel

Bel Air Bantam
I used my vintage Singer buttonholer, a $3 thrift store find.


I was asked how I align my plaids.

First, I do not fold the fabric for the front and back pieces.  For the front, I cut a single layer and flip the pattern over to cut the other front.  I use a rotary cutter and a ruler to get straight cuts.


right front

left front
For the back, I cut one side, remembering not to cut the side that says "place on fold".  Then flip the pattern and finish cutting.

I line up the bottom of the patterns with the same line.

left rear

right rear

arms
I fold the fabric for everything else.
yoke cut on angle
This shirt has flat-fell seams in the armholes, but I serged the sides.

Front

Back


Thanks for stopping.

Friday, February 8, 2019

Rock Around the Block, part two

I realized when looking at my last blog, I had not explained I was using the strip piecing technique to make the checker blocks.  This cuts down sewing and cutting a lot.

With strip piecing, long strips are sewn together, then cut into small pieces to sew back together.

Sew strips of background and color together

Cut 1 1/2" pieces off strips to sew together for checker block

Add triangles and rectangles to make blocks

Sew different colors together to make large block
After adding sashing and borders this is the quilt top.


Now it is ready for quilting.

Thanks for stopping.

Wednesday, January 16, 2019

Rock Around the Block, part one

I was straightening my sewing room and found a pattern and fabric I had purchased a few months ago, but had forgotten.  The crib size quilt pattern is called Rock Around the Block and it is by Nancy McNally.  I hate paying for patterns, but this one was so cute I paid $8 for it here.

Rock  Around the Block by Nancy McNally
The pattern calls for six fat quarters in different colors, plus one in red.  I purchased two extra colors so I can decide which ones I like best.

Here I have the fabric  I am going to use.  The white has an interesting floral pattern.


I am sewing with my Necchi Supernova Ultra.


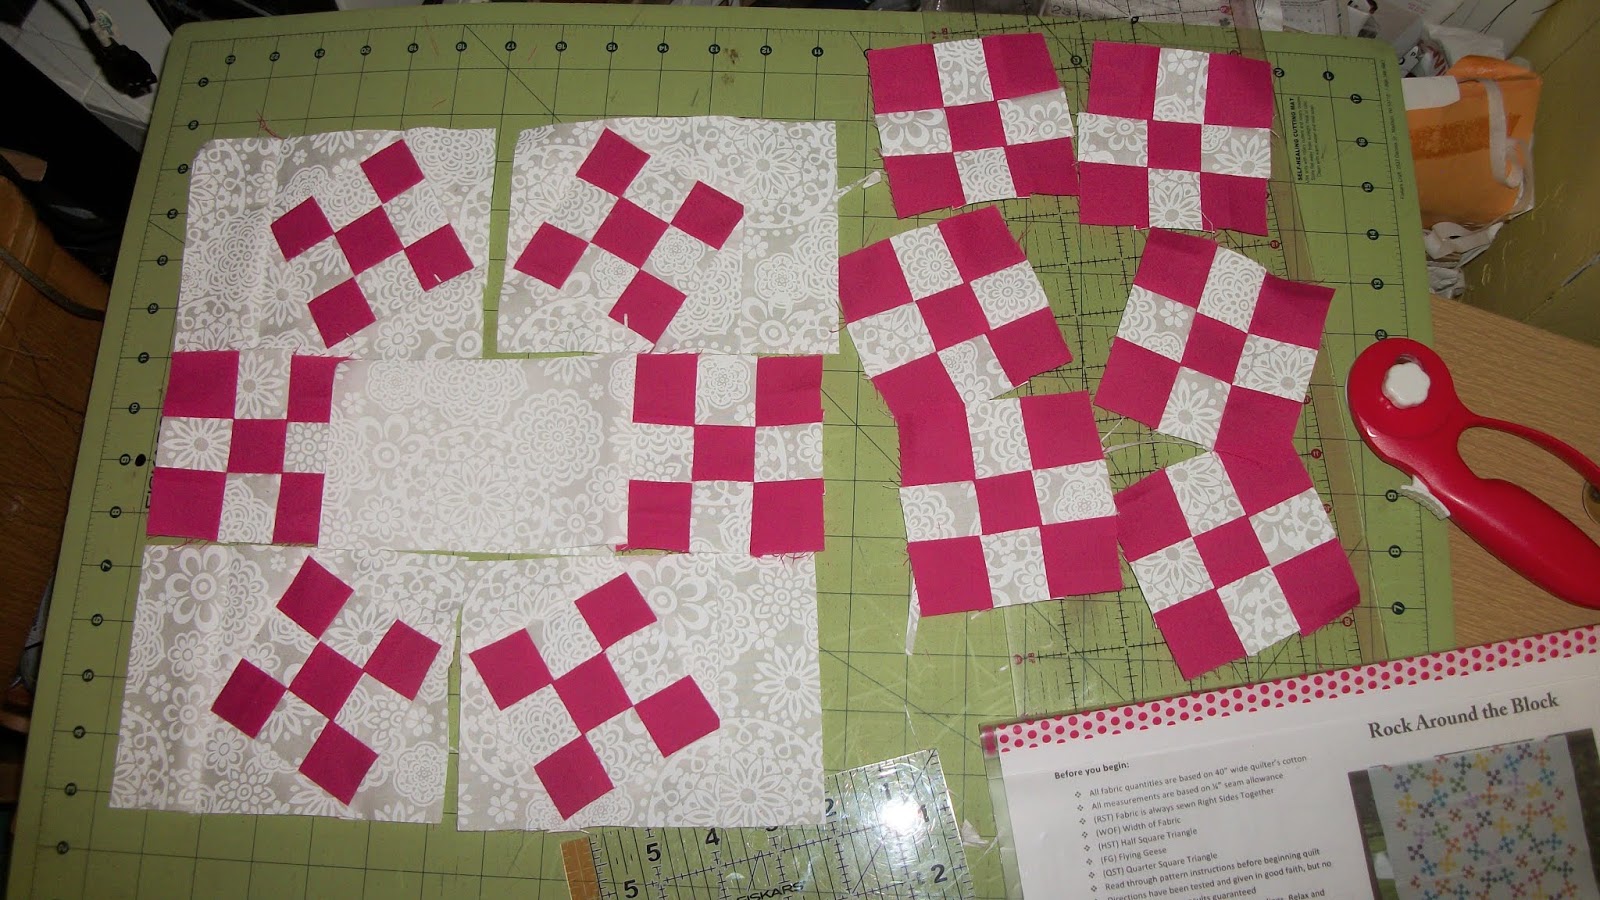
Here I have some of the pink blocks finished.


I have many more blocks to make.

Thanks for stopping.

Saturday, December 29, 2018

A Shirt for Joe

After Simplicity 8573 failed me in the last blog, I decided to make a shirt for Joe with my "goto" pattern, Simplicity 7330 in size large.

This time I am using real cotton-flannel instead of the snuggle-flannel.  A bargain price at $5 per yard.

I also decided to get in my sewing machine collection for the machine to use.  I thought a long time, then decided my Viking 190 has not been used in a while.  This is a mechanical machine from the 80s.  It has the needle stop up/down feature I like so much.  It also has a four-step buttonhole.


This shirt fits Joe like it should.


I did finish my Christmas wall hanging I started a few blogs ago.


I received recognition of being number six out of the top ten male sewing blogs. 
Click here to see the list.

Thanks for stopping.

Wednesday, December 12, 2018

Snuggle-Flannel Shirts and New Pattern Fails

Snuggle-flannel is a cotton fabric that has the design printed on it rather than woven.  This makes it low in cost.  I bought it at Joann's for $2.35 a yard.
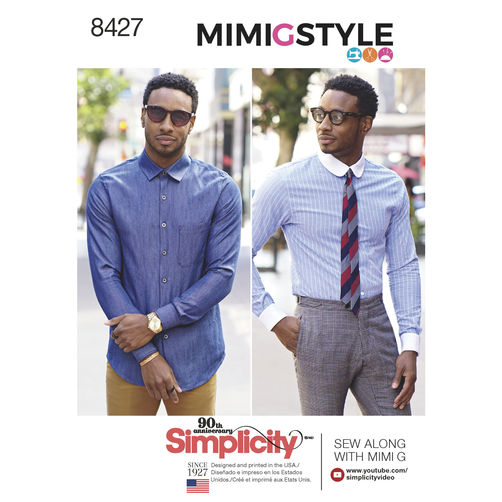
I made a shirt with Simplicity 8427 for me.  I made size 38 and added two inches to the sleeve length.  I watched the sew along Video to refresh my memory on shirt construction.
 I used my Bernina 910.


I made one for Joe using a new pattern, Simplicity 8753. This pattern has classic, slim and modern styles .  I chose classic and I cut a size 40 in everything but the waist, that I increased to 42.

I used my White 6775.

Everything went great until Joe tried it on.  It was way too small.  It fits me!

See the difference between the shirt I made and a shirt Joe likes.

Dixie was also in disbelief.


So, two shirts for me.  A big F for the sizing on Simplicity 8753.

Thanks for stopping.